Deploy Extension
In general, there are no strict requirements regarding hosting strategy or hosting provider, as Extensions are integrated exclusively via web technologies.
This chapter describes a recommended path for straightforward deployment.
Overview of the Deployment Approach
The deployment approach described here uses the following building blocks:
| Component | Description |
|---|---|
| GitHub | Repository containing your Extension source code |
| GitHub Actions | CI/CD pipeline that builds container image and triggers deployment |
| GitHub Container Registry | Private registry for storing built container images |
| mStudio Container Hosting | Target environment where the Extension runs as a container |
| mittwald/deploy-container-action | GitHub Action that deploys to mStudio |
This approach is suitable if:
- Your Extension source code should live in a GitHub repository
- You want an automated CI/CD pipeline
- The container image should remain private
- Deployment should target mStudio Container Hosting
Create a Second Extension
To keep your local development setup usable after deployment and customization, it is recommended to create a separate Extension for production. Repeat the steps from Configure Extension and create a second Extension. At this point, you do not need to configure URLs yet, since production endpoints will differ from local development.
Book a Server
A server is required to use mStudio container hosting. Container hosting is not available in project hosting.
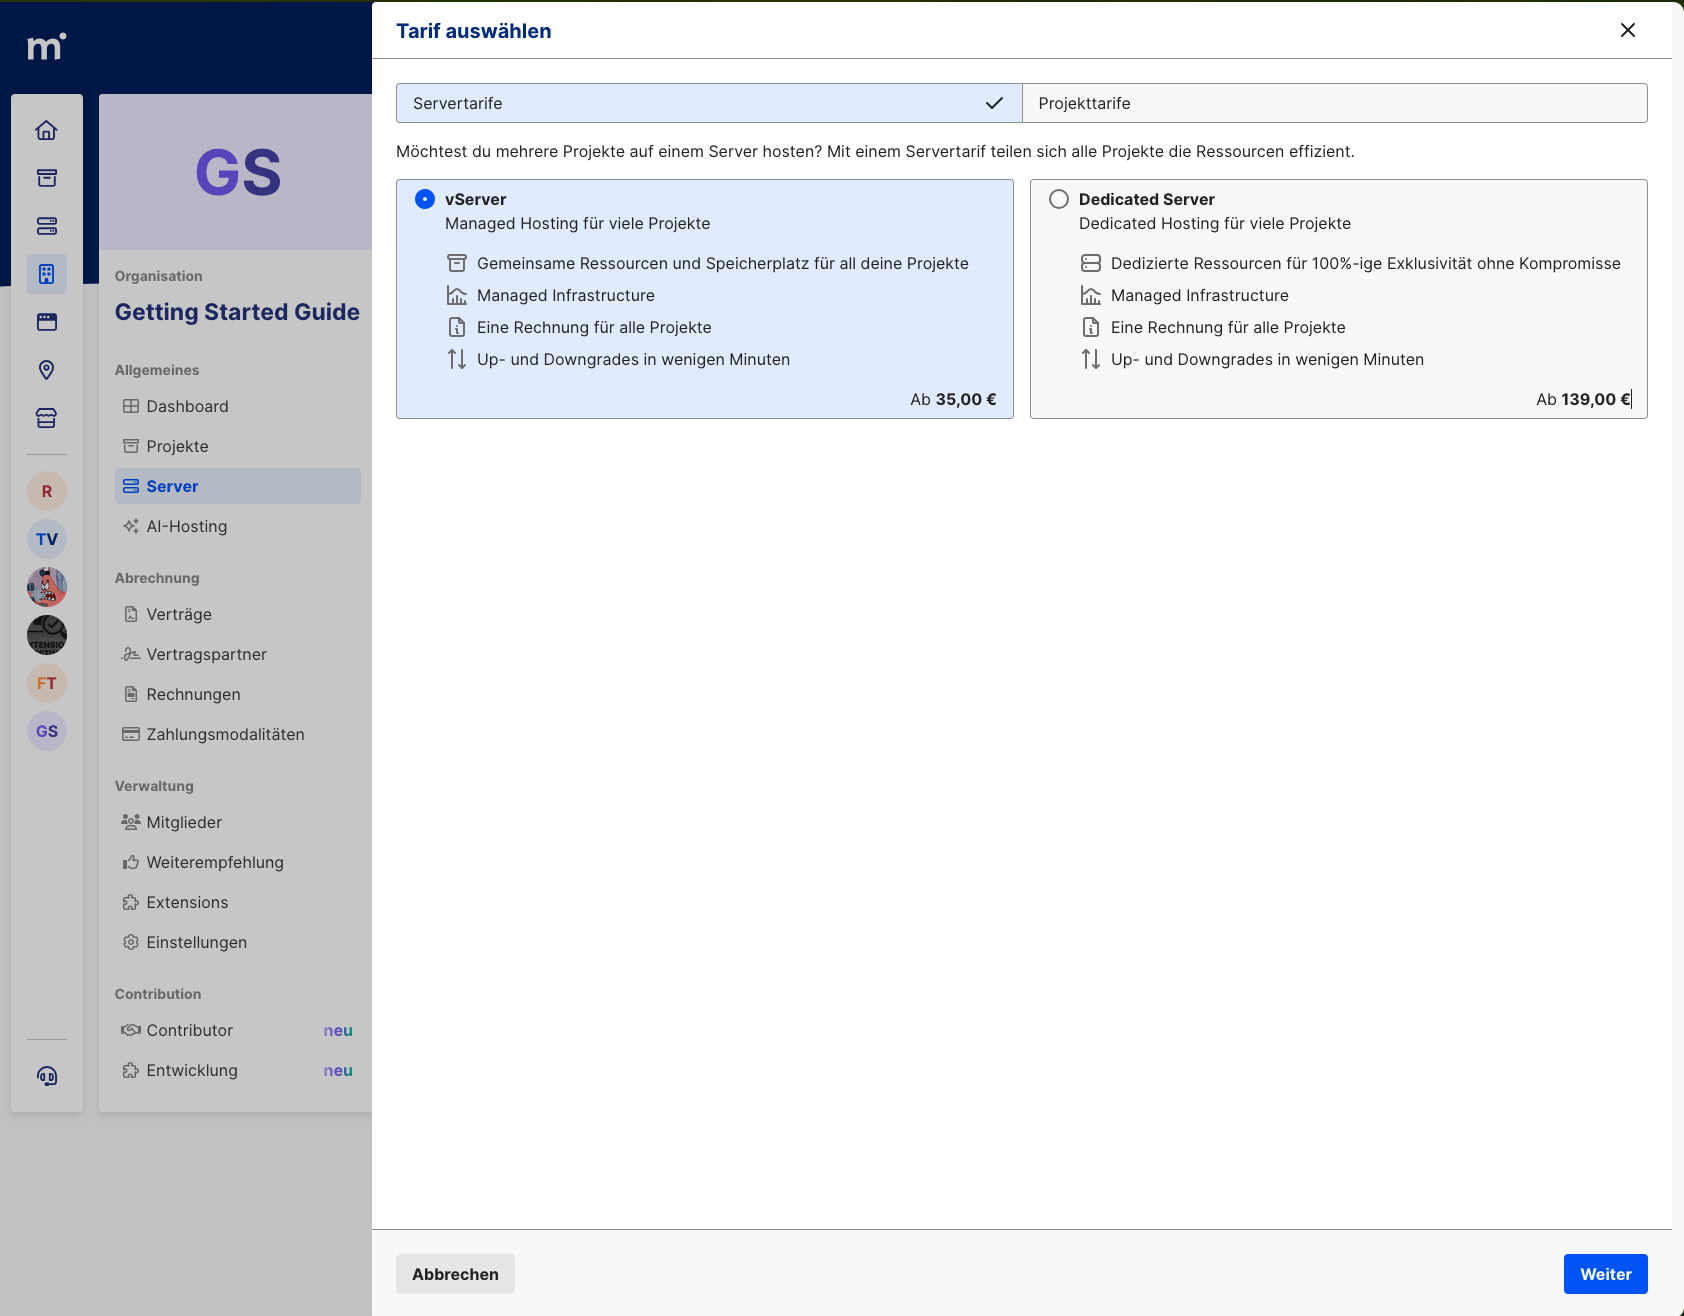
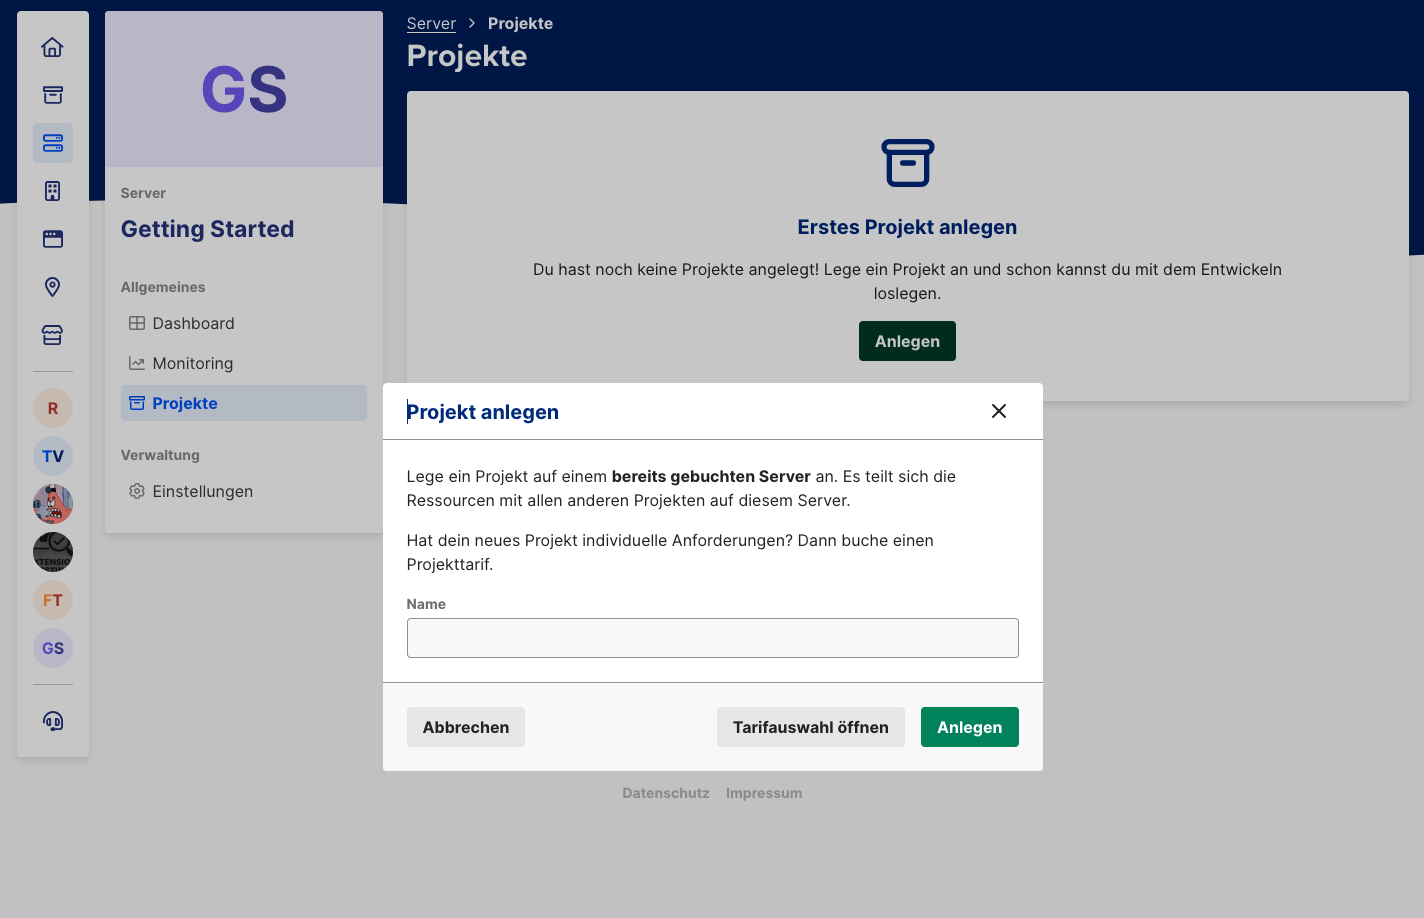
Inside this new server, you can create a project at no additional cost where your Extension container can run.
Create a GitHub Repository
Since the Reference Extension was cloned from github.com/mittwald/reference-extension,
your local repository still points to the original remote.
For deployment, you need your own GitHub repository.
Create a New Repository on GitHub
- Open github.com/new
- Set a repository name (e.g.
my-extension) - Set visibility to Private
- Click Create repository
Reconfigure Local Repository
After creating the repository, switch your local repo to the new remote and remove the existing pipeline:
# Rename current remote (optional, if you want to keep the original)
git remote rename origin upstream

# Add new remote
git remote add origin git@github.com:<your-username>/<repository-name>.git

# Remove current pipeline
rm -rf ./.github

# Commit changes
git commit -a -m "remove pipeline"

# Rename branch to main (Reference Extension uses master)
git branch -M main

# Push code to the new repository
git push -u origin main
GitHub Container Registry
This setup uses GitHub Container Registry (ghcr.io). The container image is automatically built and published on every push.
Since the container image should stay private, you must configure registry authentication in mStudio.
Create a Personal Access Token
For access to private GitHub Container Registry images, you need a Personal Access Token (classic):
- Open GitHub Settings -> Developer settings -> Personal access tokens -> Tokens (classic)
- Click Generate new token (classic)
- Set a meaningful name (e.g.
mStudio Registry Access) - Select scope read:packages
- Click Generate token and copy the token
Configure Private Registry in mStudio
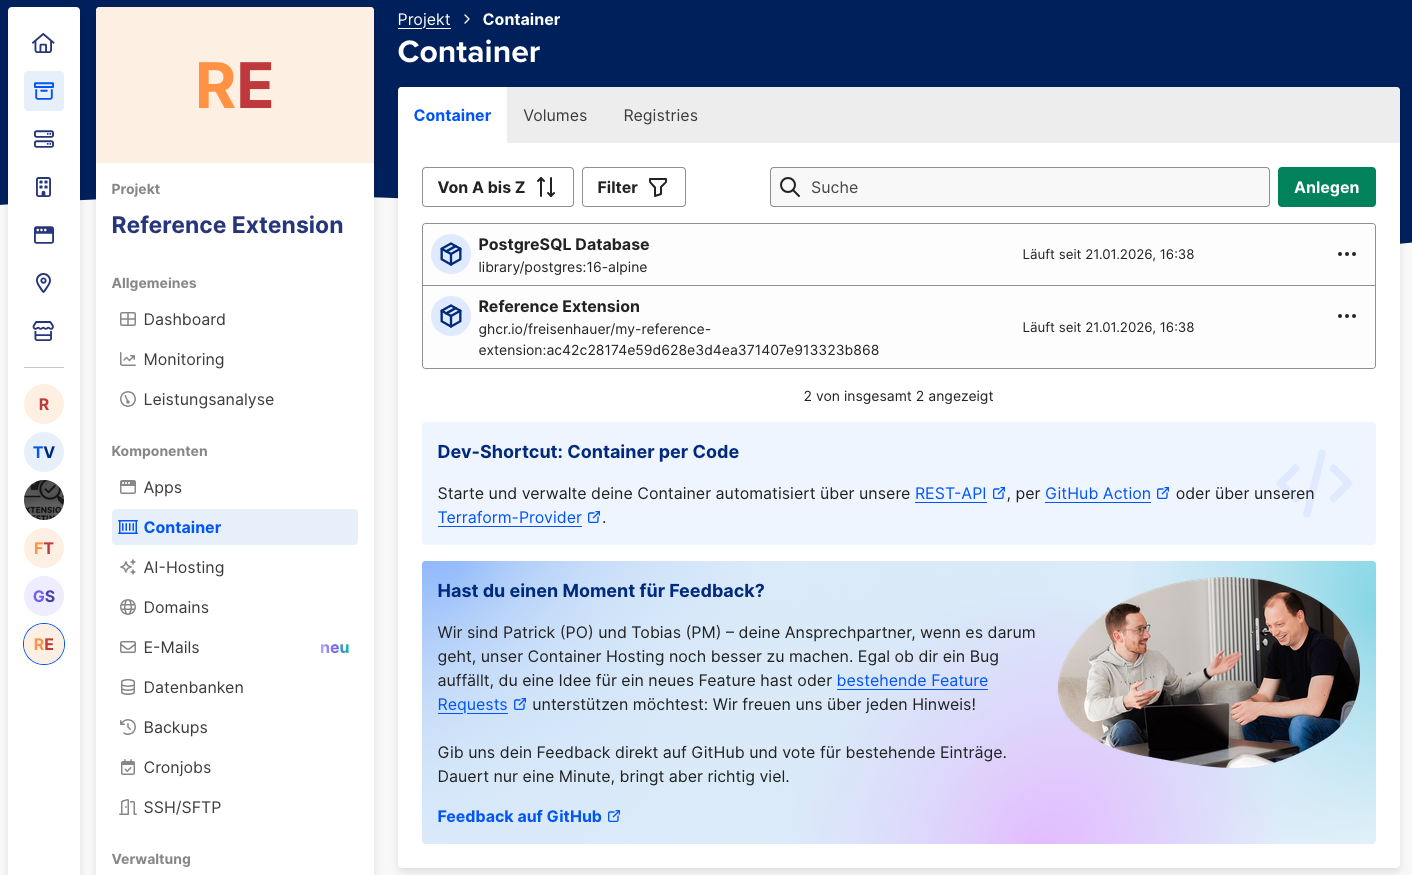
To allow mStudio container hosting to pull your private image, configure registry credentials in your project:
- Navigate to your project in mStudio
- Open Container -> Registries
- Click "GitHub"
- In section "Zugangsdaten", click "Bearbeiten"
- Enter:
- Username: your GitHub username
- Password/Access Token: the token created above
- Click "Speichern"
For additional details, see Container Hosting documentation for private registries.
Create Stack Definition
Create deploy/stack.yaml in your repository.
This file defines which services are started in mStudio container hosting:
services:
  app:
    image: "{{ .Env.IMAGE_TAG }}"
    description: "Extension"
    ports:
      - "3000/tcp"
    environment:
      NODE_ENV: production
      POSTGRES_HOST: db
      POSTGRES_PORT: "5432"
      POSTGRES_USER: "{{ .Env.POSTGRES_USER }}"
      POSTGRES_PASSWORD: "{{ .Env.POSTGRES_PASSWORD }}"
      POSTGRES_DB: "{{ .Env.POSTGRES_DB }}"
      ENCRYPTION_MASTER_PASSWORD: "{{ .Env.ENCRYPTION_MASTER_PASSWORD }}"
      ENCRYPTION_SALT: "{{ .Env.ENCRYPTION_SALT }}"
      EXTENSION_SECRET: "{{ .Env.EXTENSION_SECRET }}"
      EXTENSION_ID: "{{ .Env.EXTENSION_ID }}"

  db:
    image: "postgres:16-alpine"
    description: "Database"
    volumes:
      - postgres-data:/var/lib/postgresql/data
    environment:
      POSTGRES_USER: "{{ .Env.POSTGRES_USER }}"
      POSTGRES_PASSWORD: "{{ .Env.POSTGRES_PASSWORD }}"
      POSTGRES_DB: "{{ .Env.POSTGRES_DB }}"

volumes:
  postgres-data: {}
GitHub Actions Workflow
Create .github/workflows/deploy.yml:
name: Build and Deploy

on:
  push:
    branches:
      - main
    tags:
      - "v*"
  workflow_dispatch:

env:
  REGISTRY: ghcr.io
  IMAGE_NAME: ${{ github.repository }}

jobs:
  build:
    runs-on: ubuntu-latest
    permissions:
      contents: read
      packages: write

    outputs:
      image_tag: ${{ steps.image_tag.outputs.value }}

    steps:
      - name: Checkout repository
        uses: actions/checkout@v4

      - name: Log in to Container Registry
        uses: docker/login-action@v3
        with:
          registry: ${{ env.REGISTRY }}
          username: ${{ github.actor }}
          password: ${{ secrets.GITHUB_TOKEN }}

      - name: Generate image tag
        id: image_tag
        run: echo "value=${{ env.REGISTRY }}/${{ env.IMAGE_NAME }}:${{ github.sha }}" >> $GITHUB_OUTPUT

      - name: Build and push Docker image
        uses: docker/build-push-action@v5
        with:
          context: .
          push: true
          tags: ${{ steps.image_tag.outputs.value }}

  deploy:
    needs: build
    runs-on: ubuntu-latest

    steps:
      - name: Checkout repository
        uses: actions/checkout@v4

      - name: Deploy to mStudio
        uses: mittwald/deploy-container-action@v1
        with:
          api_token: ${{ secrets.MITTWALD_API_TOKEN }}
          stack_id: ${{ vars.STACK_ID }}
          stack_file: deploy/stack.yaml
        env:
          IMAGE_TAG: ${{ needs.build.outputs.image_tag }}
          POSTGRES_USER: ${{ secrets.POSTGRES_USER }}
          POSTGRES_PASSWORD: ${{ secrets.POSTGRES_PASSWORD }}
          POSTGRES_DB: ${{ secrets.POSTGRES_DB }}
          ENCRYPTION_MASTER_PASSWORD: ${{ secrets.ENCRYPTION_MASTER_PASSWORD }}
          ENCRYPTION_SALT: ${{ secrets.ENCRYPTION_SALT }}
          EXTENSION_SECRET: ${{ secrets.EXTENSION_SECRET }}
          EXTENSION_ID: ${{ vars.EXTENSION_ID }}
This workflow builds the Docker image, stores it in the registry, and deploys database and Extension to mStudio. In most cases, it also makes sense to add extra actions for code-quality checks.
Configure Secrets and Variables
In your GitHub repository, configure the following under
Settings -> Secrets and variables -> Actions.
Most values can be taken from your local .env setup.
If you created a second Extension for production (recommended),
use that Extension's values for EXTENSION_ID and EXTENSION_SECRET.
Repository secrets
| Secret | Description |
|---|---|
MITTWALD_API_TOKEN | API token with write access from mStudio |
POSTGRES_USER | PostgreSQL username |
POSTGRES_PASSWORD | PostgreSQL password |
POSTGRES_DB | PostgreSQL database name |
ENCRYPTION_MASTER_PASSWORD | Master password used to derive the symmetric encryption key for database encryption |
ENCRYPTION_SALT | Salt used to derive the symmetric encryption key for database encryption |
EXTENSION_SECRET | Extension secret for Frontend Fragment authentication; if you created a second Extension, use that secret |
Repository variables
| Variable | Description |
|---|---|
STACK_ID | Stack ID from mStudio container hosting; equal to the project ID |
EXTENSION_ID | Extension ID in marketplace; if you created a second Extension, use that Extension ID |
Determine Stack ID
You can find the stack ID in mStudio:
- Navigate to your project in the server
- The stack ID equals the project ID and is shown in URL:
https://studio.mittwald.de/app/projects/{projectId}/dashboard
Trigger Deployment
Deployment is automatically triggered on:
- Push to
main: deploys current version - Create Git tag (e.g.
v1.0.0): deploys a release version - Manual trigger: via "Run workflow" button in GitHub Actions
So you only need to push changes in deploy/stack.yaml and .github/workflows/deploy.yml to the main branch,
and the Extension should be built and deployed.
# Commit changes
git commit -a -m "add pipeline"

# Push code
git push
After a successful pipeline run, the Extension should be running in mStudio.
Point a Domain to the Extension
To make the Extension reachable from outside, configure a domain target pointing to the Extension. mStudio automatically provides a project domain for each project.
In the "Domains" menu, configure this domain to point to the Extension container.

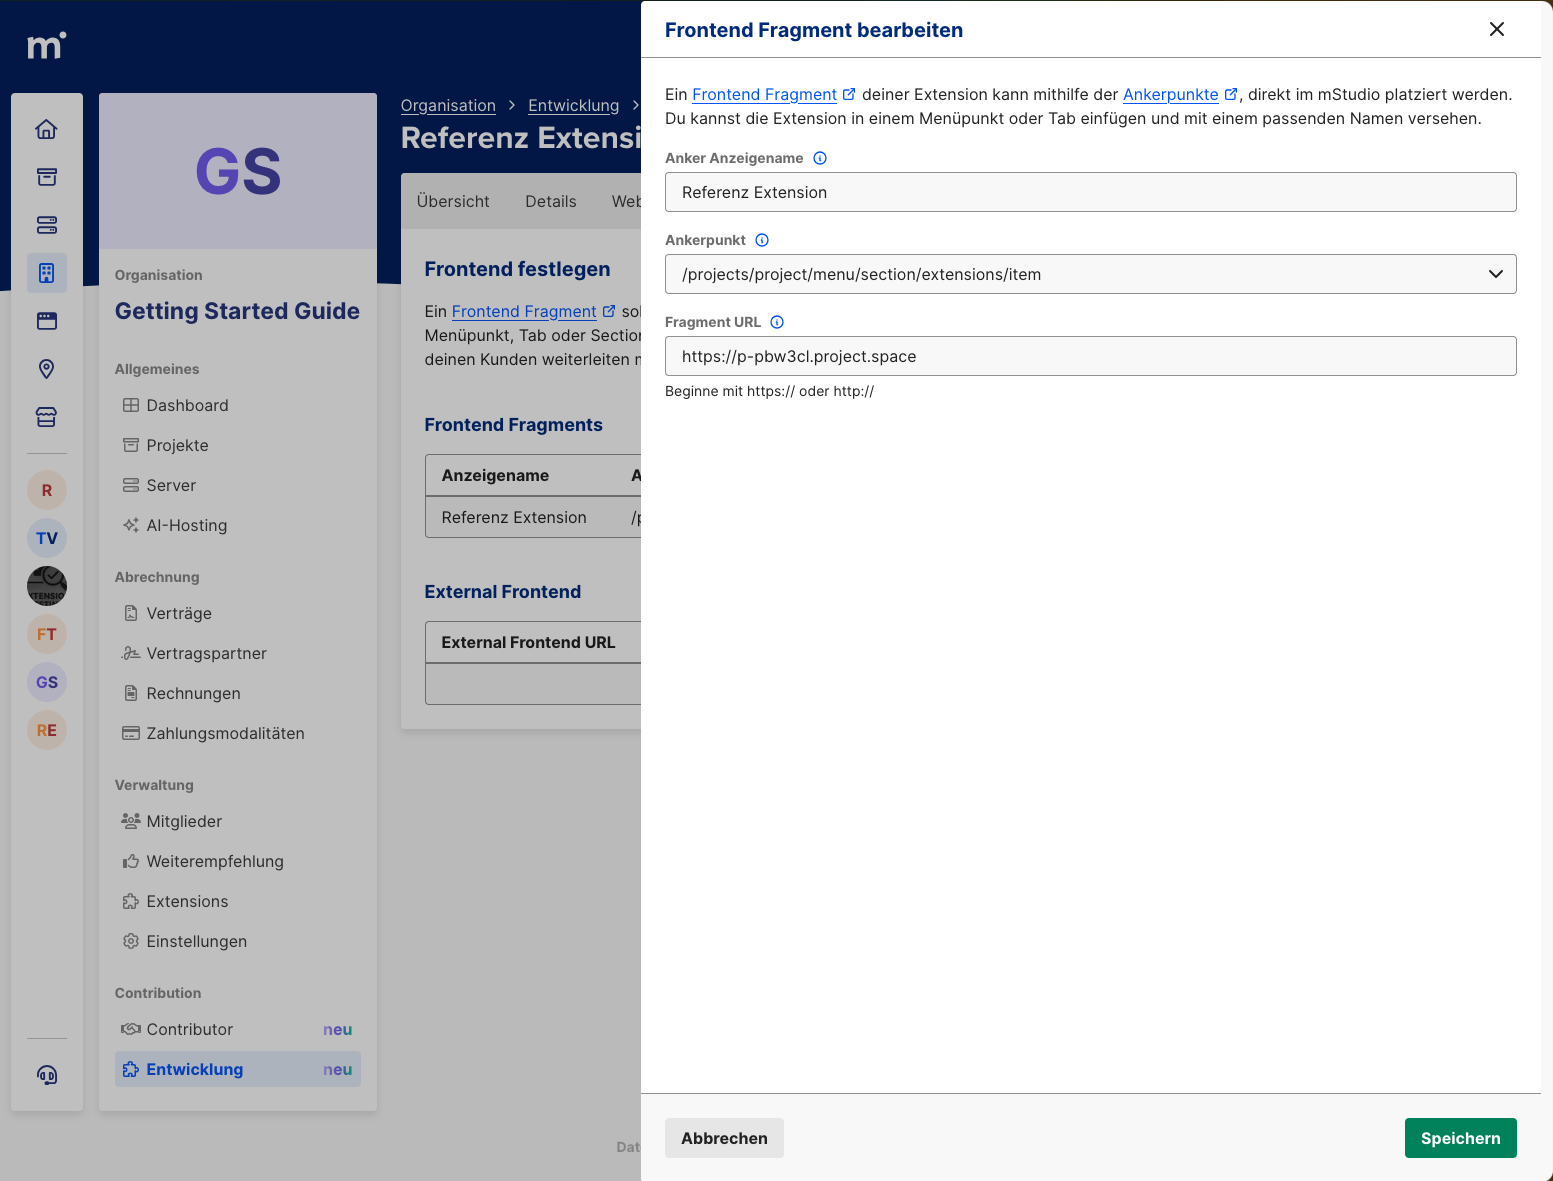
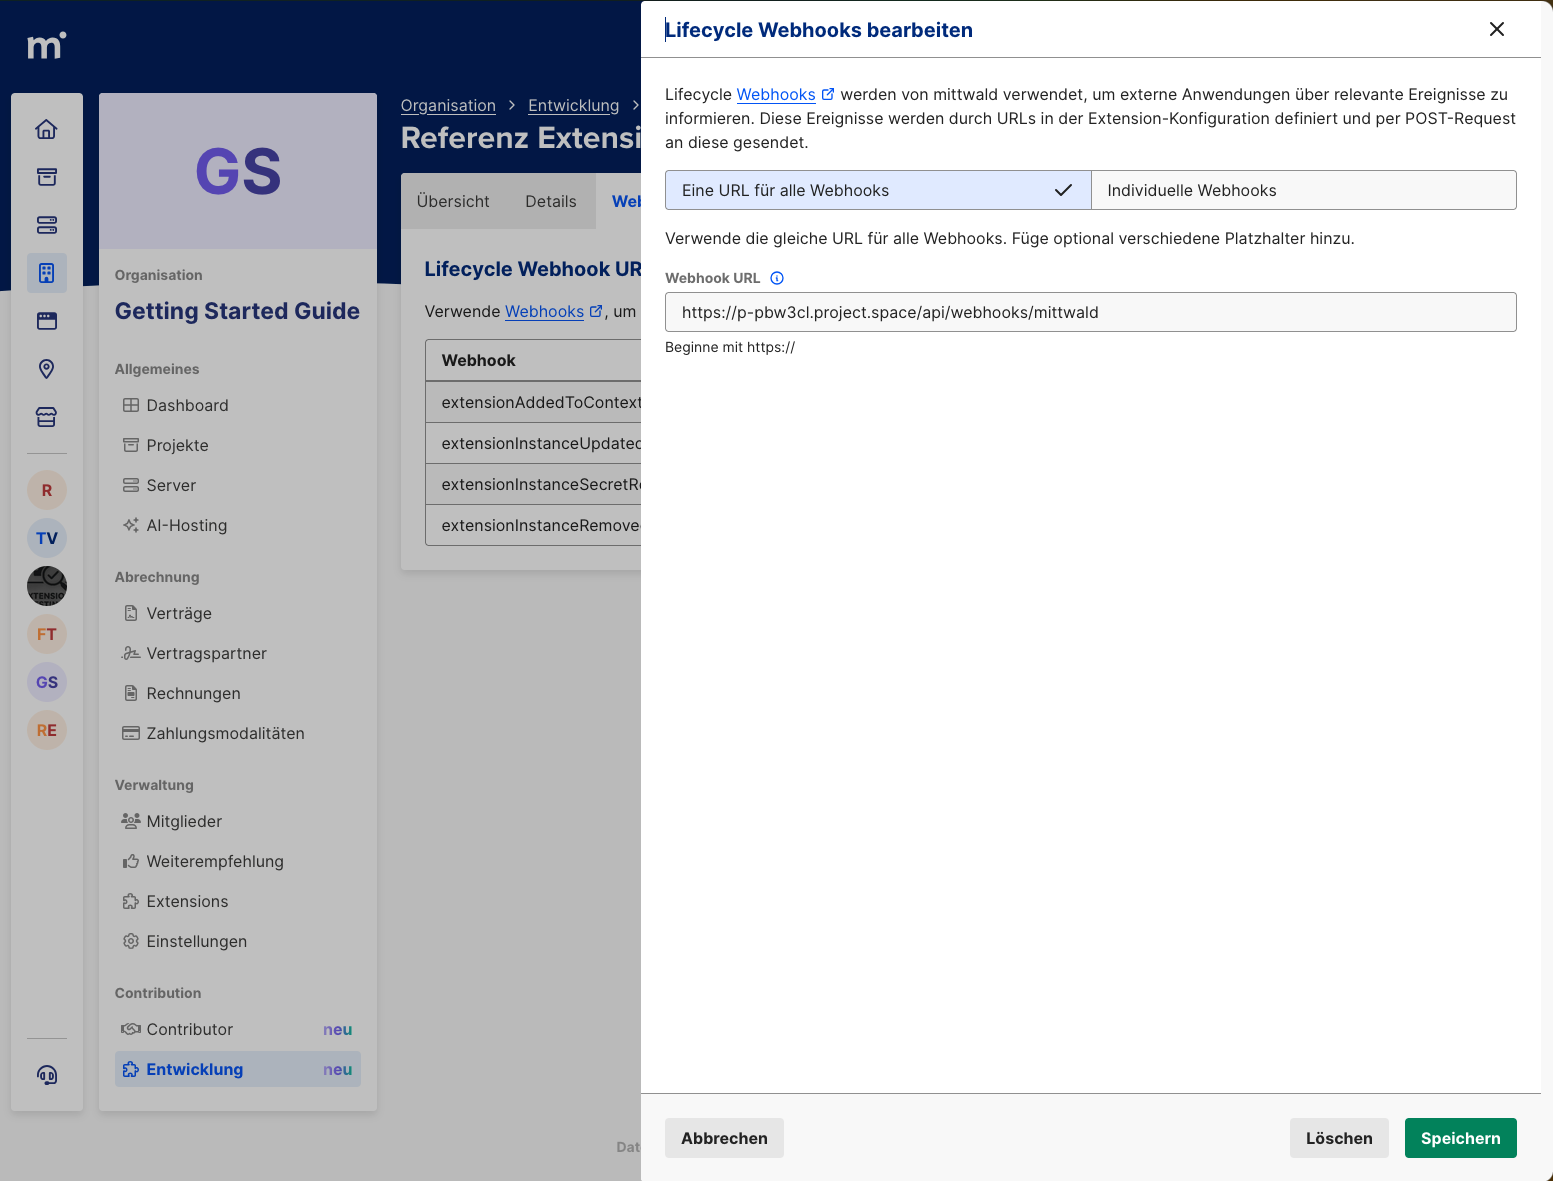
Configure Extension Endpoints
As in Configure Extension, configure webhook and Frontend Fragment endpoints again. Now use the project domain instead of localhost or zrok URL.
Your Extension is now fully deployed. To verify behavior, create a new Extension Instance and test the Extension again.
Deploying the Reference Extension itself is usually not the final Contributor goal. What to do next when building your own Extension is described in the Next Steps.
The good part: every git push to main updates your Extension automatically.